_________________________________________________________________

1 I chose Image 1 to use and develop into the final piece for the magazine advertisement as I thought it was most aesthetically pleasing, and suitable for the purpose of a portrait advertisement. In order to edit the original image, I first opened it in Photoshop.

2 We decided in the planning and research stages that we wanted a black and white themed digi-pack. Therefore, the first editing process was to use the 'black and white' adjustment to turn my image into black and white. I adjusted each colour level in order to make the image look how i wanted it too, with lighter areas, and areas of more shadow and low-lights (the adjusting of the colour levels within the black and white adjustment is shown below in image 3)
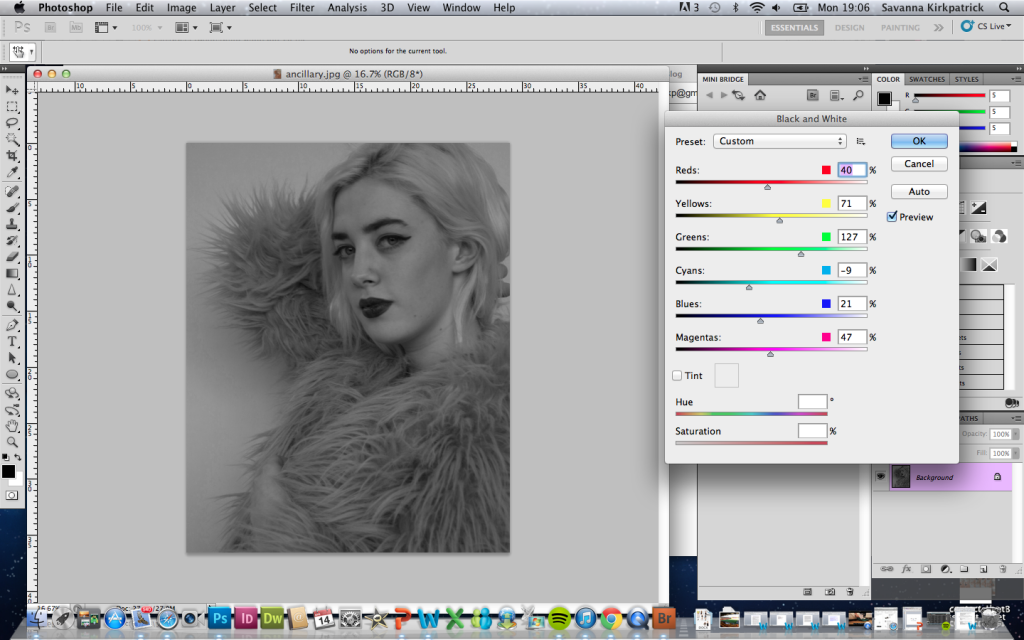
3
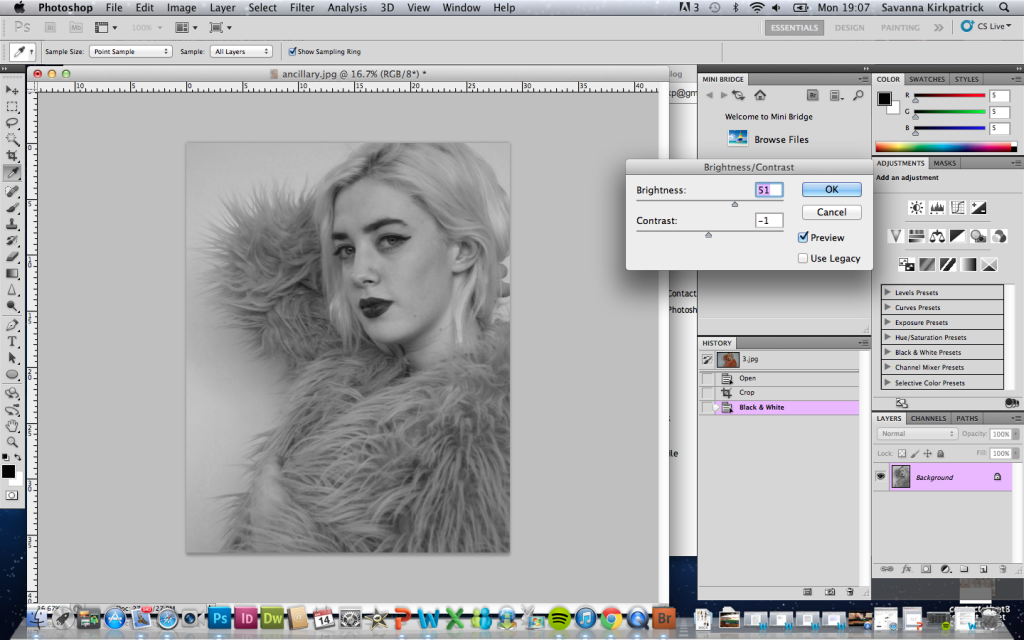
4 In this image, i am adjusting the brightness and contrast of the image. This helped me to achieve a more flawless glowing complexion, as well as lightening the background. This was an important step to make the image appear more professional, and also brighter, as the original image was quite dark, and since we didn't have use of any studio lighting in the photo shoot, the light had to be created synthetically through editing. This also increased the contrast, making her main features (eyes, lips, fur coat) stand out and appear bold and eye-capturing.
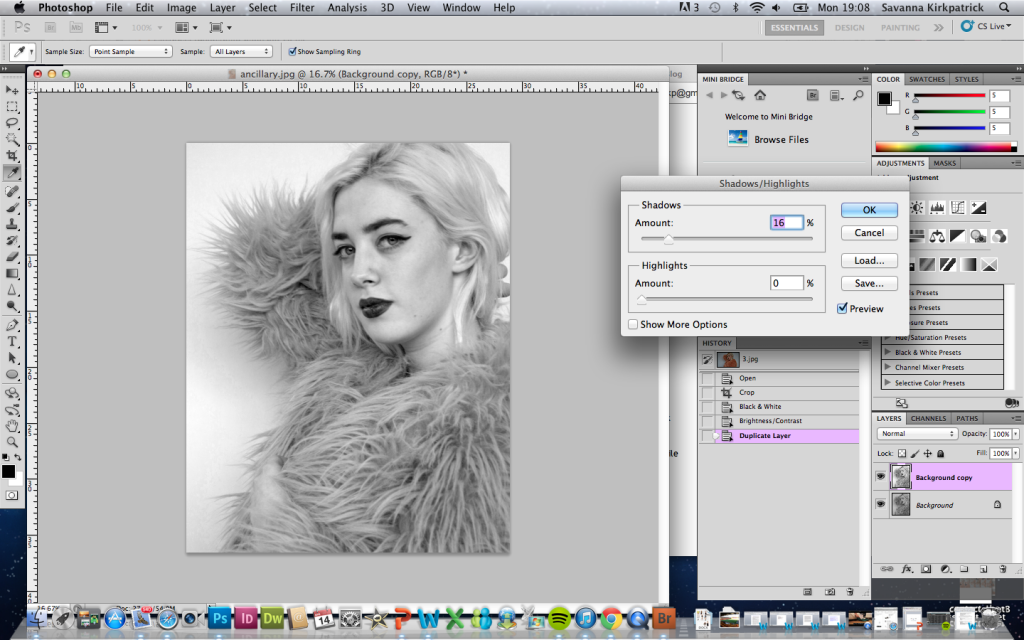
5 I felt like the image was still too dull, particularly the background. I needed there to be more variation between the black and white tones, and a more crisp white background so Bella stood out more. Therefore I began to adjust the shadows and highlights of the image. Decreasing both the shadows and highlights made for an even more professional looking image. The fur in her coat began to stand out a lot more from the background, as well as her facial features and hair.
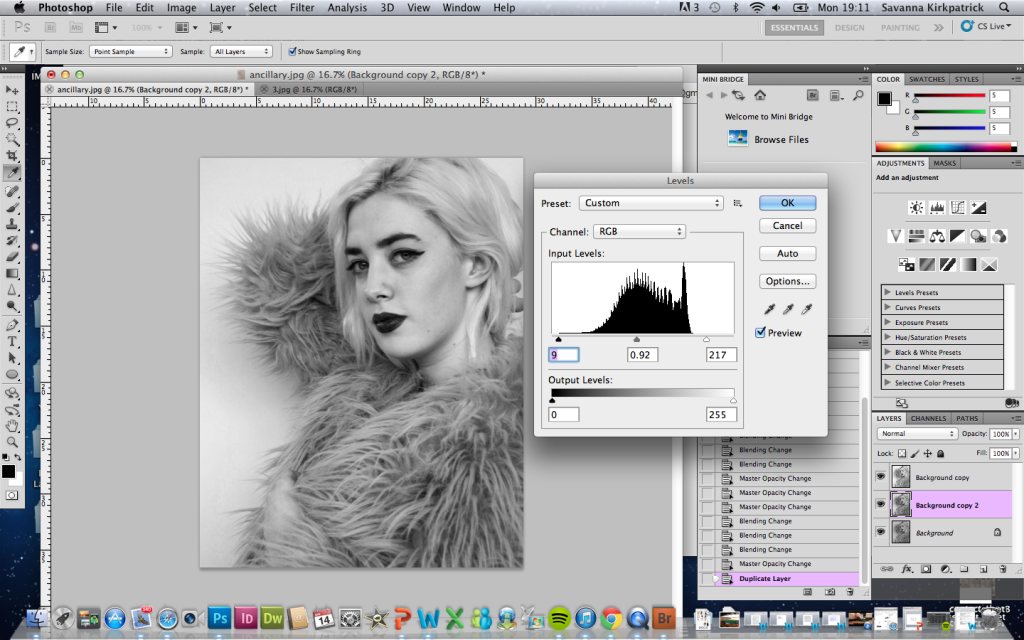
6 I continued to adjust the image further, and in this step i am adjusting the levels of the photo. This allowed me to make certain dark areas of the image darker, and some lighter areas more glowing. I chose to decrease the levels of her fur jacket, which introduced more texture and made the image look more 3D and less flat on the page. This also worked with the facial features such as eyebrows, eyes and lips. These are unique and distinctive features to Bella, that also stand out in the music video, therefore I wanted to ensure they stood out to their full potential and didn't sink into the background. I also made her skin more glowing for a more flawless complexion. This was an easier way to achieve the airbrushed effect that is seen in real media texts.
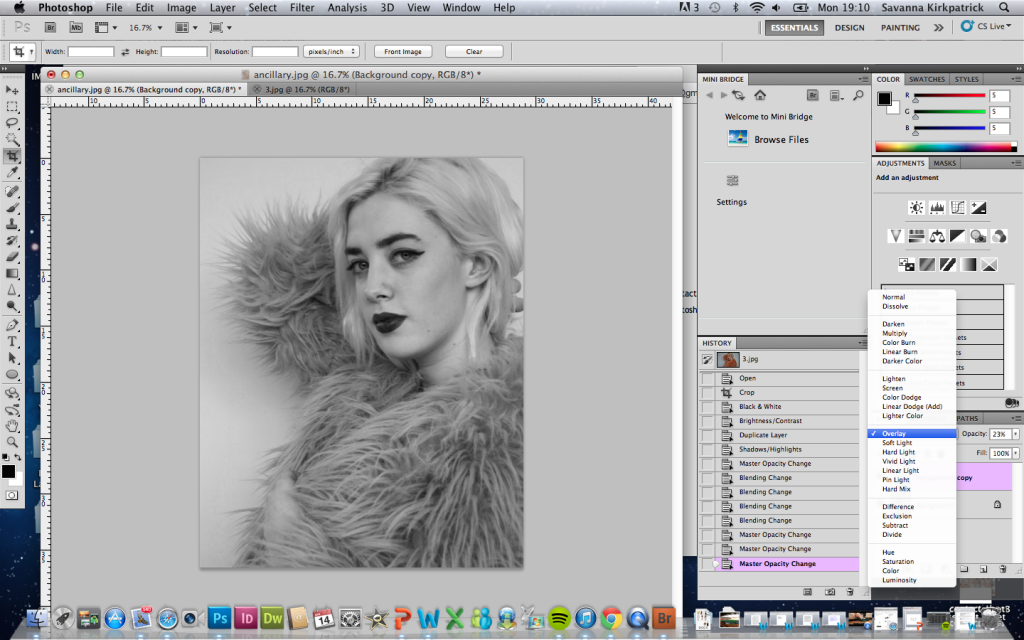
7 In this photo, I copied the background and set it to 'overlay'. This added further contrast and depth to the image as seen below.

8 I downloaded the font 'Prisma' from an internet site for free, and opened it in Photoshop so it was ready to use. I then began adding in the text, as you can see here, I have inserted the header, located in the top left, as I thought this to be the most eye-catching location with the contrast between the white background and black text.

9 In the planning, I had originally decided to locate the text here, in the bottom 3rd of the page in the centre. However, the fur coat caught more light than anticipated, and if I were to add any more contrast it would look false and over-edited. Therefore, I had to think up a more suitable location for the text.
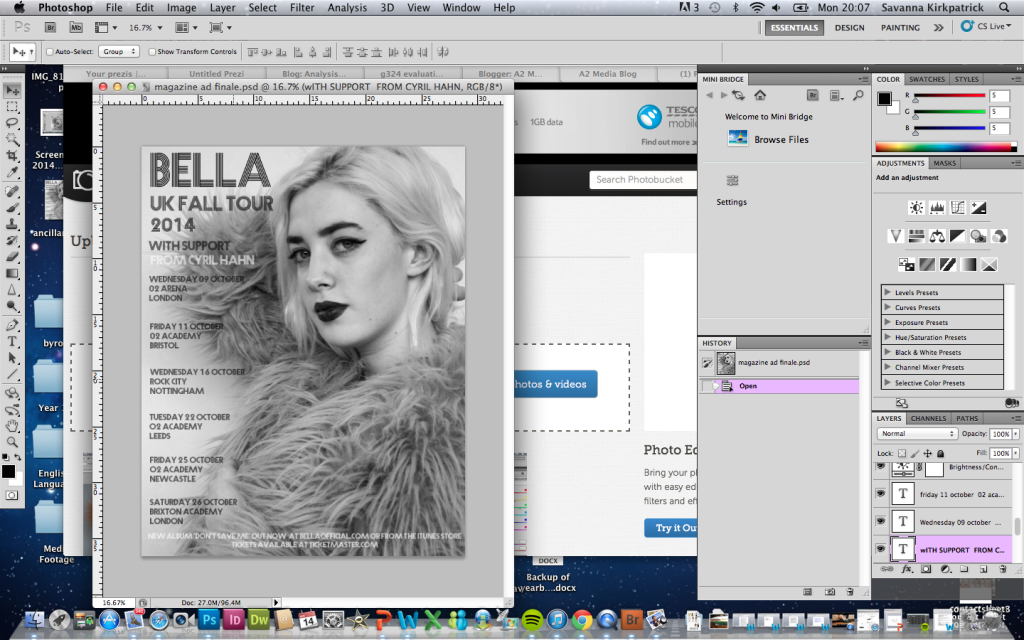
10 I decided that the left hand side of the page was far more suitable for the tour dates to be listed. The white background and black text contrasting makes a far-easier read in the list format, and also fills out the page and makes it look busier, but still remains simple and not over-crowded or overwhelming for the consumer.
_________________________________________________________________
No comments:
Post a Comment